


Leather has long been admired for its durability and timeless appeal. It’s a go-to material for everything from shoes and bags to jackets and belts. But what if you could give those classic pieces a personal twist? With the right kind of paint, you can preserve and transform this material. Whether you’re refreshing an old favourite or creating something entirely new, painting it adds a whole new layer of creativity to your craft. I’ll walk you through how to achieve a smooth, long-lasting finish while unlocking the full potential of your furniture and clothing as your canvas.
Benefits of Acrylic Leather Paints
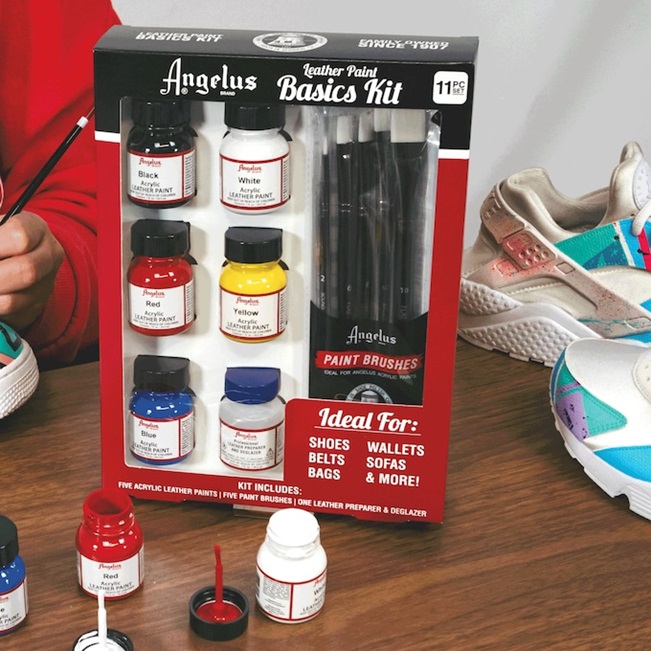
If you’re into DIY projects or just want to refresh your old leather gear, using easy-to-apply acrylic leather paint makes a big difference. Regular acrylics from your craft drawer might look good for a moment, but they just don’t hold up the same way. That’s where specially formulated acrylic options come in. They bond with the material, staying flexible and durable even after repeated use. Here are a few reasons why they’re a game changer:
-They stick and stay: Good dyes adhere like a dream and won’t peel or flake, even when the leather bends and flexes.
-It’s fade resistant: Leather paints hold up beautifully in sunlight, so your bold reds and rich blacks won’t turn dull.
-Flexible: Once dry, the dye moves with the material, helping the fabric stay soft and natural to the touch.
-Water-based and easy to use: Cleanup is simple, and you can speed up drying with a hair dryer, no special tools needed.
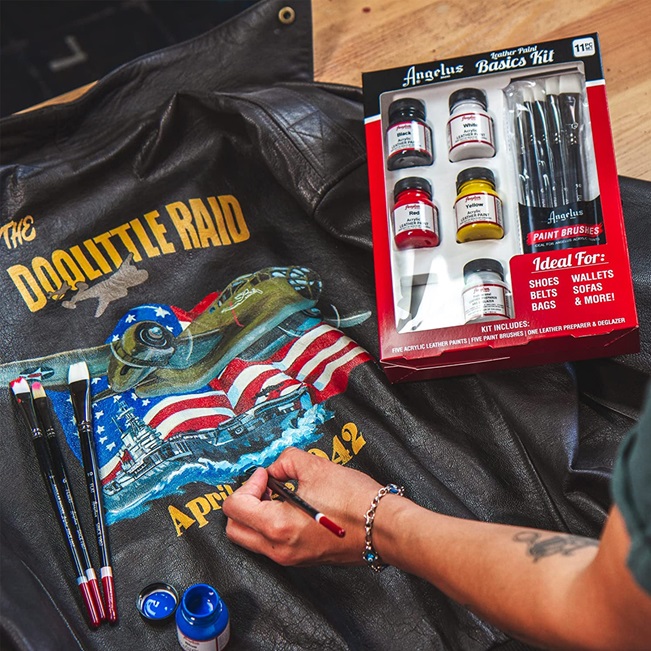
-Endless creative freedom: With loads of colours to choose from and the ability to mix your own, you can get creative.
How to Paint Leather
Cleaning and Preparing
Before diving into your project, there’s one step you don’t want to skip, which is giving your piece a proper clean. Whether you’re working with a beloved old leather bag, shoes, belt, or a brand-new sofa, it’s important to make sure the surface is completely free of dust, dirt, or oils that could mess with the result. If the item’s been used or stored away, grab a quality cleaner to lift off any built-up grime. Starting with a spotless surface gives you the best chance for a smooth, even finish that lasts.
Once the surface is clean, it’s time to prep it for the next stage. Even if it looks good to go, you’ll want to use a proper preparer to remove any invisible coatings or oils still clinging to the surface. These products strip away the factory finish and help your leather paints stick better, reducing the risk of peeling or flaking down the line. Gently go over the surface a few times with the product, making sure to do a small test patch first, to get your item ready for that first layer of colour.
Sanding
Do you need to sand leather before painting? If you’re working with parts of this material that will bend or flex a lot, like the toe area of shoes, adding a sanding step before using your leather paint can make a difference. It’s not always essential, but if you want your design to hold up over time without cracking, it’s worth the extra few minutes. Lightly sanding the surface with high-grit sandpaper helps create a subtle texture that helps the dye to grip more effectively. The aim here isn’t to strip or damage the material, but just to give it a slightly rougher surface for better adherence.
Once you’ve finished sanding, cleaning off any residue left behind is important. A quick wipe-down with a preparer or deglazer will do the trick. It’ll get rid of the dust from sanding and any remaining oils, so you’re left with a clean, well-prepped surface. Skipping this second clean could leave particles behind that interfere with your finish. Especially if you’re customising shoes or anything that gets a lot of wear, this extra prep step can help your work last longer and look better.
Painting
Now that your surface is clean, prepped, and ready to go, it’s time to bring your vision to life with colour. Whether you’re working on a pair of worn-out shoes or breathing new life into a handbag, a bit of paint for leather can go a long way. Just remember, less is more when it comes to each coat. Applying the colour in light, even layers not only helps the dye settle better but also reduces the risk of any cracks down the line.
Let each layer dry completely before adding the next. Rushing it might seem tempting, especially when you’re excited to see the final look, but if you want a smooth and polished result, give the surface enough time to dry. Good leather paint online is designed to flex and move with the material, so it won’t peel off with every bend or crease, especially important for items like shoes that get a lot of wear.
Finishing
Once your final layer of colour has fully dried, you might want to seal in your work with a finishing coat. It’s not a must, but adding a protective top layer can help preserve your design, especially if the item will be used often or exposed to the elements. Whether you’re after a matte, satin, or glossy look, a finisher gives your painted piece that polished, lasting feel while helping protect it from everyday wear.