


When it comes to tiling projects, ensuring a flawless and long-lasting finish is of utmost importance. While selecting the right tiles and grout is crucial, often overlooked is the importance of choosing the best primer for tiles. A high-quality tile primer can make all the difference in your project, providing a solid foundation for your tiles and ensuring they adhere firmly to the surface.
Why Do You Need a Tile Primer?
Primers prepare the surface for tile installation by creating an adhesive-friendly environment. They help fill cracks, level uneven surfaces, and improve adhesion. Applying a primer increases the bond strength between the tile adhesive and the substrate, ensuring tiles stay securely in place for years to come.
What’s more, a good quality primer for tiles acts as a barrier, preventing moisture from seeping through the substrate and causing damage to the tiles or grout. Some primers offer stain-blocking properties, which can be particularly useful in areas prone to spills or heavy traffic. Using a primer can save you money and time in the long run by reducing the likelihood of tile failures that would necessitate costly repairs.
Factors to Consider When Buying a Tile Primer
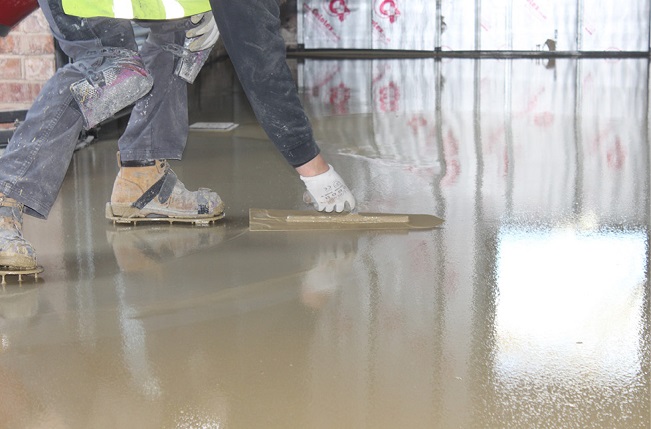
- Surface Type – Consider the type of surface you’re working with, whether it’s concrete, wood, drywall, or another material. Different surfaces may require specific types of primers.
- Adhesion Strength – Look for a primer with excellent adhesion properties to ensure your tiles adhere securely to the substrate. Adhesion strength is critical for long-lasting results.
- Moisture Resistance – If you’re tiling in areas exposed to moisture, such as bathrooms or kitchens, opt for a primer that offers moisture resistance. This will prevent water damage and mould growth.
- Porosity – Assess the porosity of your substrate. Highly porous surfaces may require multiple coats of primer to ensure proper adhesion.
- Compatibility with Adhesive – Ensure that the primer you choose is compatible with the adhesive you plan to use. Incompatibility can lead to adhesion issues.
- Drying Time – Consider the drying time of the primer, especially if you’re on a tight schedule. Some primers dry quickly, while others may require more time.
- Stain Resistance – If you’re concerned about stains, select a primer that offers stain-blocking properties. This is particularly important for light-coloured tiles.
- Ease of Application – Evaluate how easy the primer is to apply. Some primers come in convenient spray or roller applicators, making the process smoother.
- VOC Content – If you’re environmentally conscious, check the volatile organic compound (VOC) content of the primer. Low VOC primers are more eco-friendly.
- Brand Reputation – Consider the reputation of the brand producing the primer. There are several reputable manufacturers known for producing high-quality tile primers which have earned a strong reputation in the construction and tiling industry. One excellent brand that sells primer for tiles is Kiesel – a well-established family-owned business with a rich heritage spanning over six decades. They proudly manufacture all their products exclusively in Germany, adhering rigorously to the highest industry standards.
Common Types of Tile Primers
There are several types of tile primers available, each suited to different applications and surfaces.
- Latex-Based Primers – These are versatile and suitable for various surfaces. They are known for their excellent adhesion and moisture resistance.
- Acrylic-Based Primers – Acrylic primers are often used on porous surfaces like concrete and wood. They offer good adhesion and can be painted over.
- Epoxy-Based Primers – Epoxy primers are highly durable and resistant to moisture and chemicals. They are commonly used in commercial and industrial settings.
- Masonry Primers – Designed specifically for masonry surfaces, these primers help with adhesion and prevent efflorescence (the white, powdery substance that can appear on masonry surfaces).
- Multi-Surface Primers – These are designed to work on a variety of surfaces, making them versatile choices for DIYers.
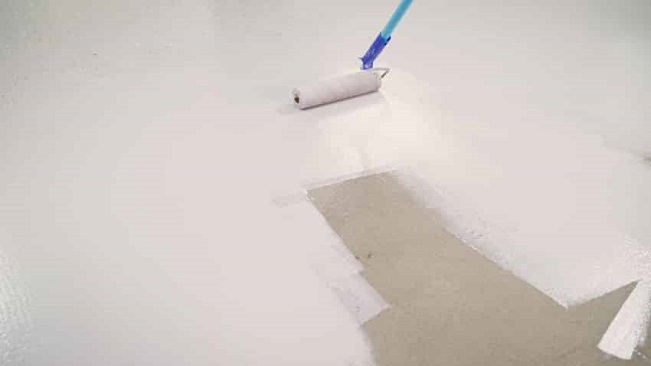
How to Apply Tile Primer
Applying floor tile primer is a straightforward process, but it’s essential to follow the manufacturer’s instructions carefully. Ensure the surface is clean, dry, and free of dust, debris, and any previous coatings or adhesives. If necessary, stir the primer thoroughly before application. Apply a thin, even coat of primer using a roller or brush. Avoid over-application, as this can lead to uneven drying.
Allow the primer to dry according to the manufacturer’s instructions. Typically, this ranges from 30 minutes to a few hours, depending on conditions. Once the primer is fully dry, you can proceed with tile installation using the appropriate adhesive. At the end of the day, choosing the right primer for your tile installation project is a crucial step that can significantly impact the longevity and success of your endeavour. Investing in a high-quality primer is a wise decision that ensures your tiles stay securely in place and your tiling project stands the test of time.